Alex Jackson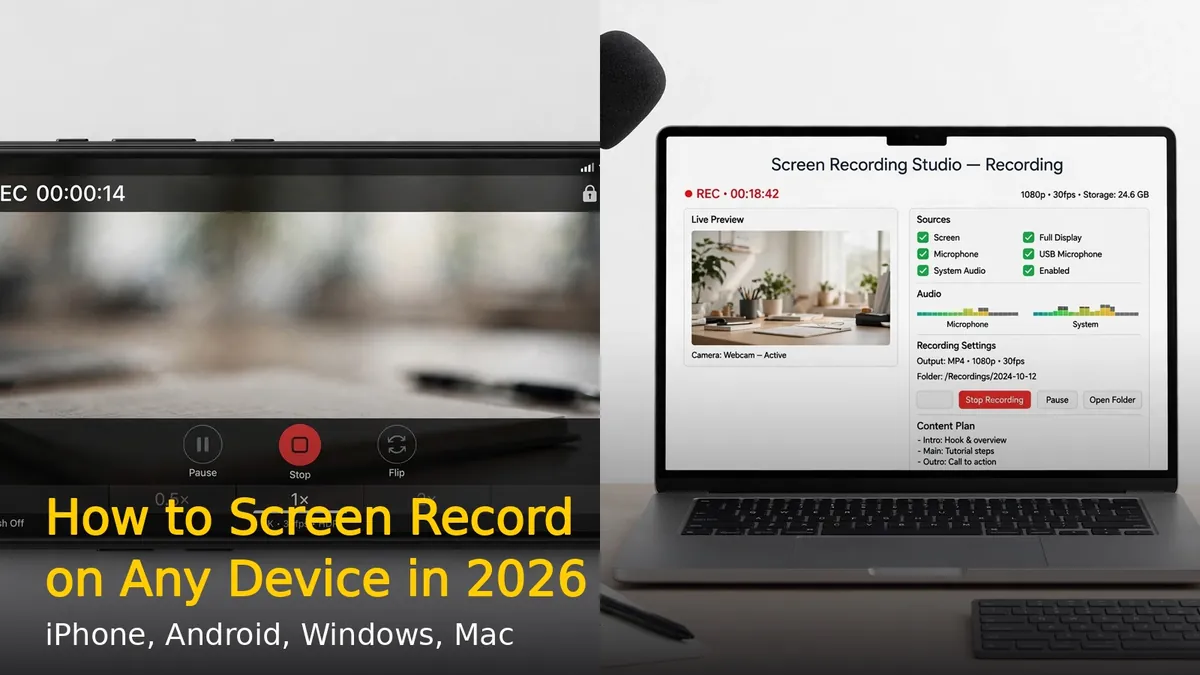
Want to record your screen for a tutorial, gameplay, or to show someone how to do something? Every major device has built-in screen recording – no extra apps needed. Here’s how to screen record on iPhone, Android, Windows, and Mac.
How to Screen Record on iPhone
Open Settings > Control Center and tap the + next to Screen Recording to add it. Then swipe down from the top-right corner (or up from the bottom on older iPhones) to open Control Center. Tap the record button (circle icon). There’s a 3-second countdown, then recording starts.
To record with audio narration, long-press the record button and turn on Microphone. Tap Start Recording. A red bar or red clock appears at the top while recording. Tap it and select Stop to finish. Your video saves to the Photos app.
How to Screen Record on Android
Most Android phones have built-in screen recording. Swipe down twice from the top to open Quick Settings. Look for Screen Record tile – if you don’t see it, tap the edit/pencil icon to add it. Tap Screen Record, choose whether to record audio (media sounds, mic, or both), and tap Start.
A floating toolbar appears with stop and pause buttons. Tap Stop when done. The video saves to your Gallery or Photos app. On Samsung phones, you can also draw on the screen while recording using the S Pen or your finger.
How to Screen Record on Windows 11
Method 1: Xbox Game Bar (Easiest)
Press Windows + G to open the Xbox Game Bar. Click the Capture widget (camera icon), then click the Record button (circle). Or simply press Windows + Alt + R to start/stop recording instantly. Videos save to Videos > Captures folder.
Note: Game Bar records one app window at a time, not the full desktop.
Method 2: Snipping Tool
Open the Snipping Tool app (search in Start menu). Click the video camera icon to switch to video mode, then click New. Select the area to record and click Start. Click Stop when done. You can preview and save the MP4 file.
How to Screen Record on Mac
Press Shift + Command + 5 to open the screenshot toolbar. You’ll see screen recording options: Record Entire Screen and Record Selected Portion. Click your choice, then click Record. To stop, click the Stop button in the menu bar (square icon) or press Shift + Command + 5 again and click Stop.
Before recording, click Options to choose microphone input, save location, and whether to show mouse clicks. Recordings save to Desktop by default as .mov files.
For quick full-screen recording, you can also open QuickTime Player > File > New Screen Recording.
Pro Tips for Better Screen Recordings
- Turn on Do Not Disturb before recording to avoid notification popups ruining your video.
- Record in a quiet room if capturing microphone audio.
- On Windows, close unnecessary apps to improve recording performance.
- Keep recordings under 5 minutes for easy sharing – longer videos get very large.
- On iPhone and Android, record at the highest resolution your phone supports for crisp text.
Now you can create tutorials, capture gameplay, or document bugs on any device without installing anything extra.
RELATED STORIES